 |
|
|
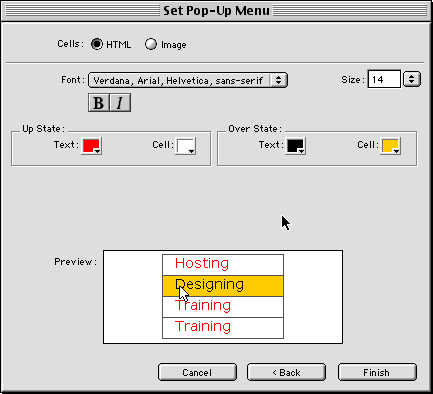
Step 5: Customizing your buttonsAfter you've satisfactorily arranged your buttons, it's time to customize them. You can use either HTML or Text buttons or use custom, pre-built graphic buttons. Click Next to continue to the next screen
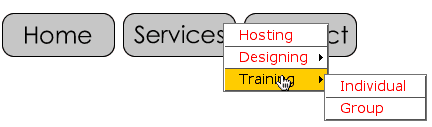
Step 6: Previewing Your MenusTake a moment to Save your page and Preview your buttons in your browser by clicking F12. I notice immediately that my buttons are going off to the side and covering the Contact button. In the next steps, I'll show you how to modify the position of your menus.
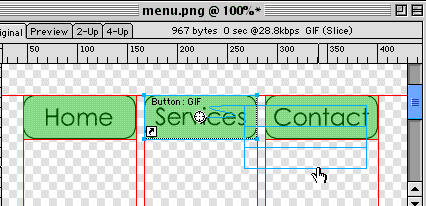
Step 7: Modifying Your Menus
You can also edit your menus to make any necessary changes
|
|
||||||||||
| Home | Dreamweaver | Fireworks | Flash | Photoshop | Elements | PowerPoint| Ebay | QuickTime Pro | Flash 5 CD | Fireworks MX CD | QuickTime Support | Contact Copyright © 1999-2015 CBT Cafe, All rights
reserved CBT Cafe | Multimedia Learning | Interactive Graphics
|