 |
|
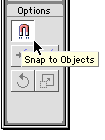
Flash: Using Motion GuidesSource Files: Download This Flash tutorial is a good start for learning to create Motion Guides and tweening in Flash 5. Step 1: Getting StartedBegin by making sure the Snap button is selected. Attaching graphics to motion guides is really painful without this feature turned on. To turn it on, click the Magnet tool in the Toolbox.
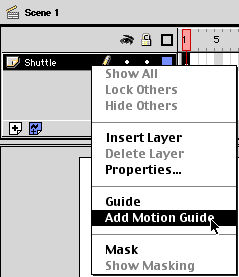
Step 2: Setting Up the Stage
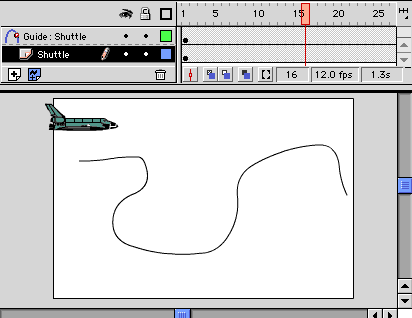
Step 3: Creating the PathThe guide layer is now set and you know this because it says "Guide:" and has inherited the name of the layer you set the motion guide to. On the Guide layer (Guide: Shuttle) draw out a line of any shape. This will be the path the graphic follows. I general use the pencil tool with the mode set to Smooth. Don't worry about things like the color of the line as the guide layer WILL NOT be seen when you publish your movie. Here's how my guide looks:
As you can see, the path can be any shape you like. Get creative with it.
|
|
|||||||||||||
| Home | Dreamweaver | Fireworks | Flash | Photoshop | Elements | PowerPoint| Ebay | QuickTime Pro | Flash 5 CD | Fireworks MX CD | QuickTime Support | Contact Copyright © 1999-2011 CBT Cafe, All rights
reserved CBT Cafe | Multimedia Learning | Interactive Graphics
|


